How to Make the Perfect Italian Granny Square: A Step-By-Step Guide
The granny square is a beloved staple in the world of crochet, admired for its versatility and timeless appeal. Whether you’re crafting a cozy blanket, a stylish bag, or a vibrant cushion cover, mastering the art of the perfect granny square can elevate your projects to a new level. Here’s a step-by-step guide to help you achieve granny square perfection.
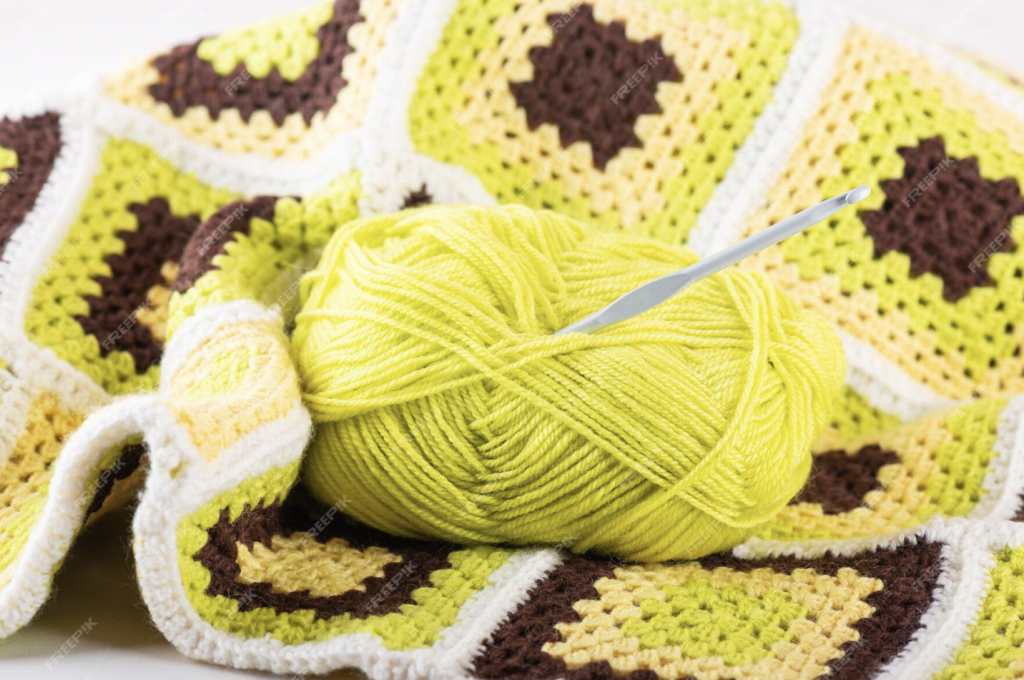
Materials You’ll Need for the Italian Square :
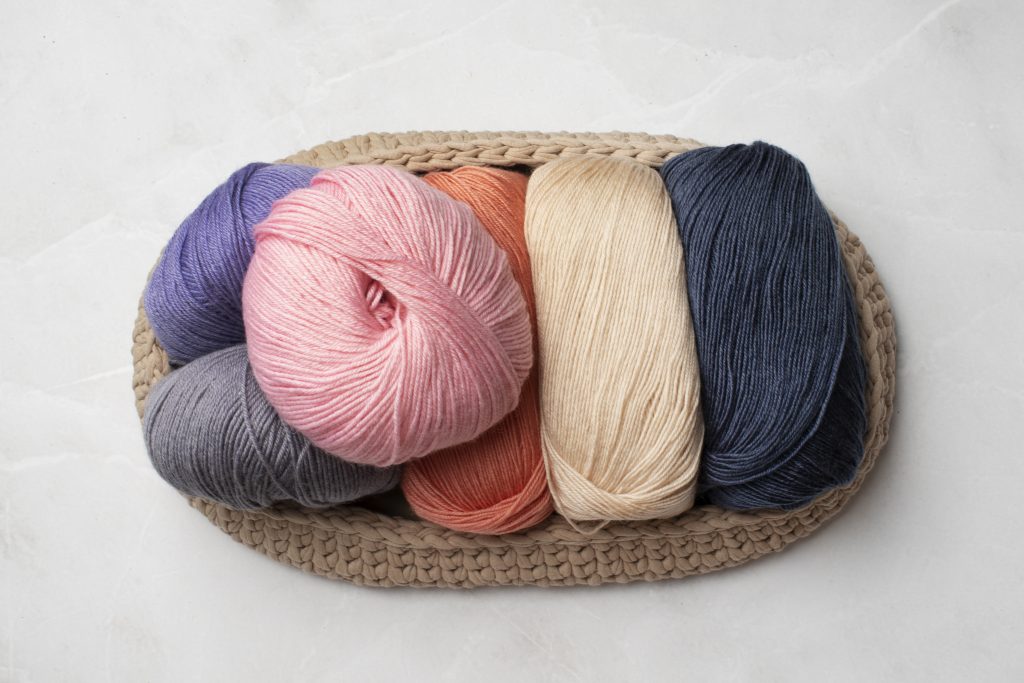
- Yarn: A lighter yarn like sport or DK weight will enhance the delicacy of the stitches
- Hook: Use a smaller hook than the one typically recommended for your yarn for a tighter, more intricate finish.
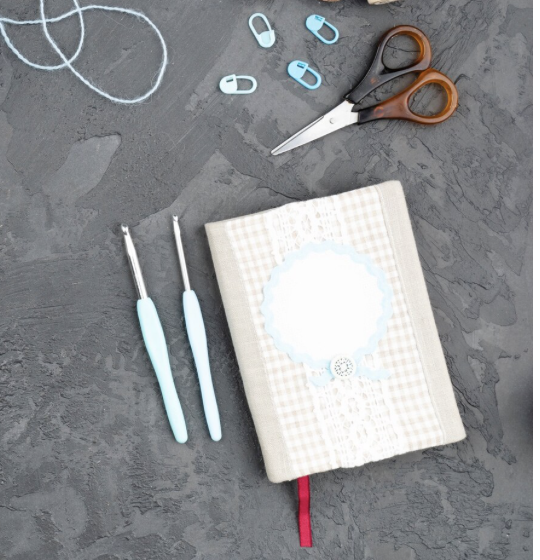
- Scissors: For cutting yarn.
- Tapestry Needle: To weave in ends and join squares.
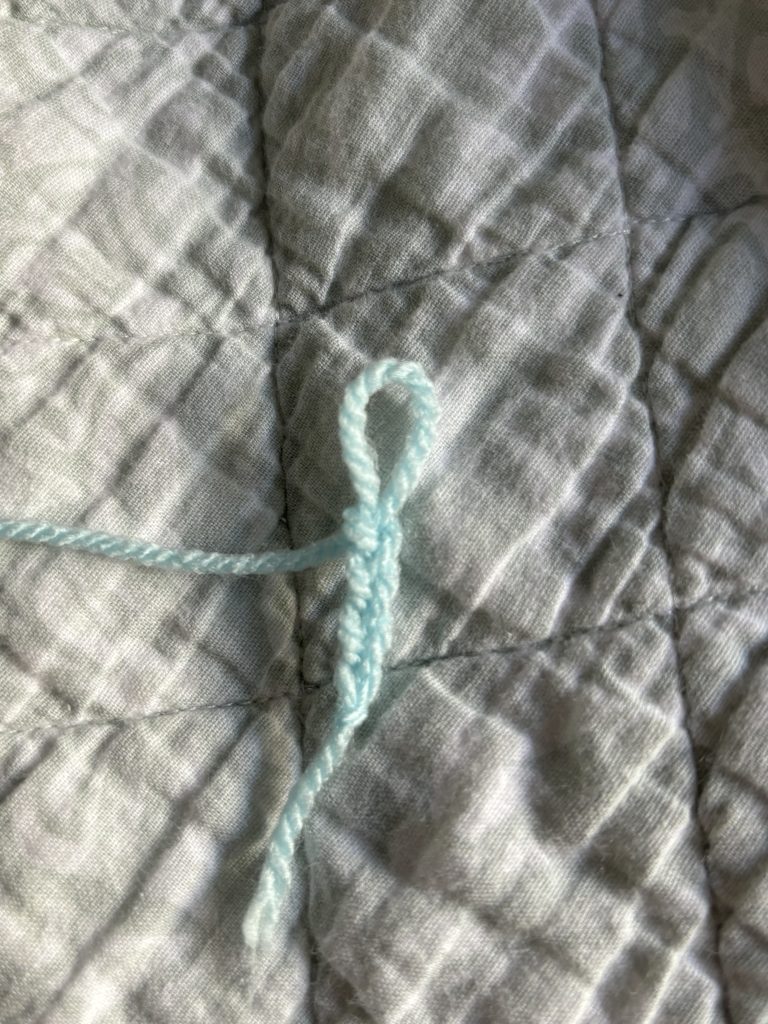
First Round – Setting the Foundation
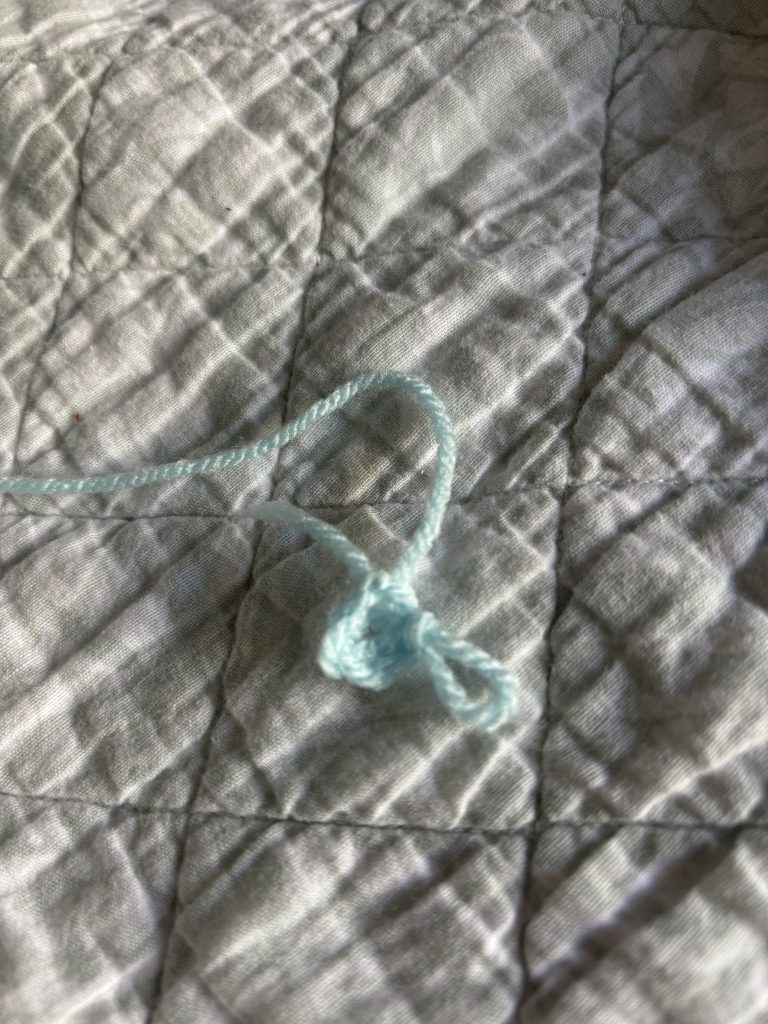
- Chain 4: This acts as your foundation for the ring
- Slip Stitch into the First chain: To create the ring.
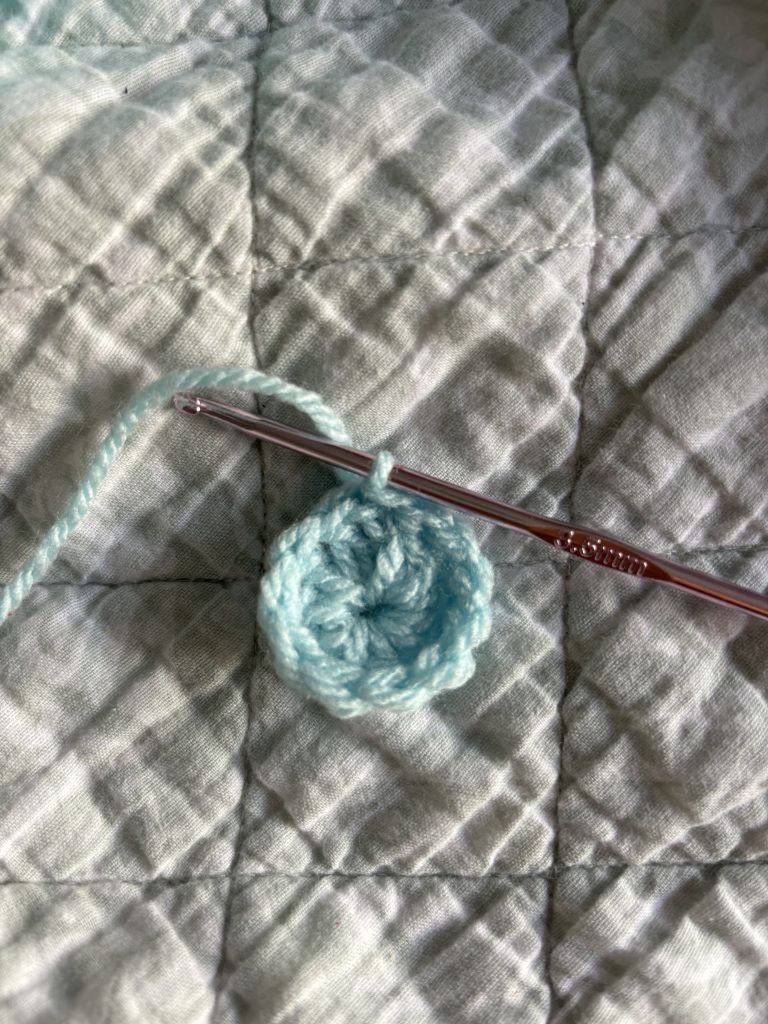
Row 1 – Around the Ring
- Chain 3: This acts as the first double crochet (dc).
- 11 Treble crochet into the Ring : This creates a circle for the row 1.
- Slip Stitch into chain 3 : To finalise the circle.
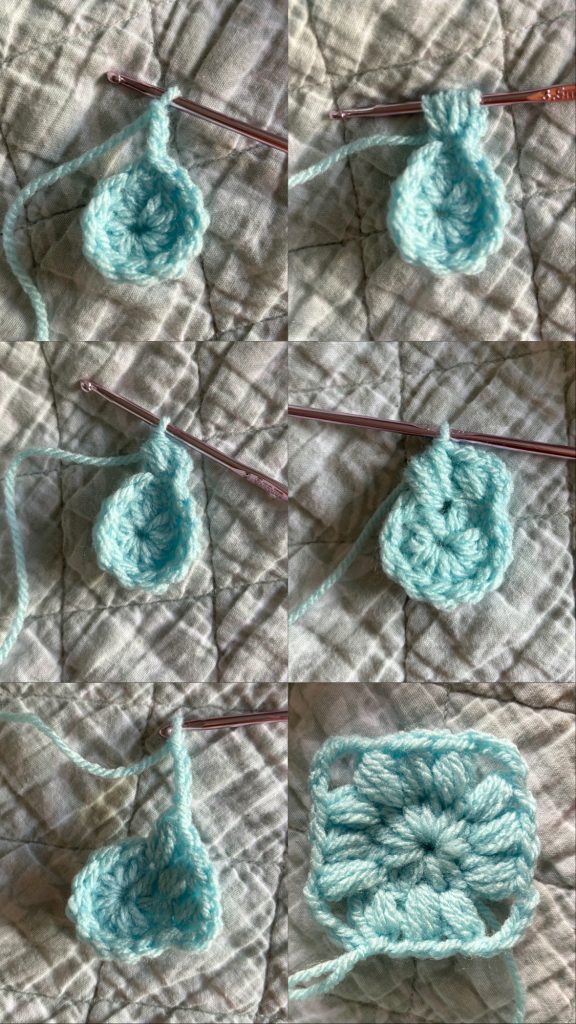
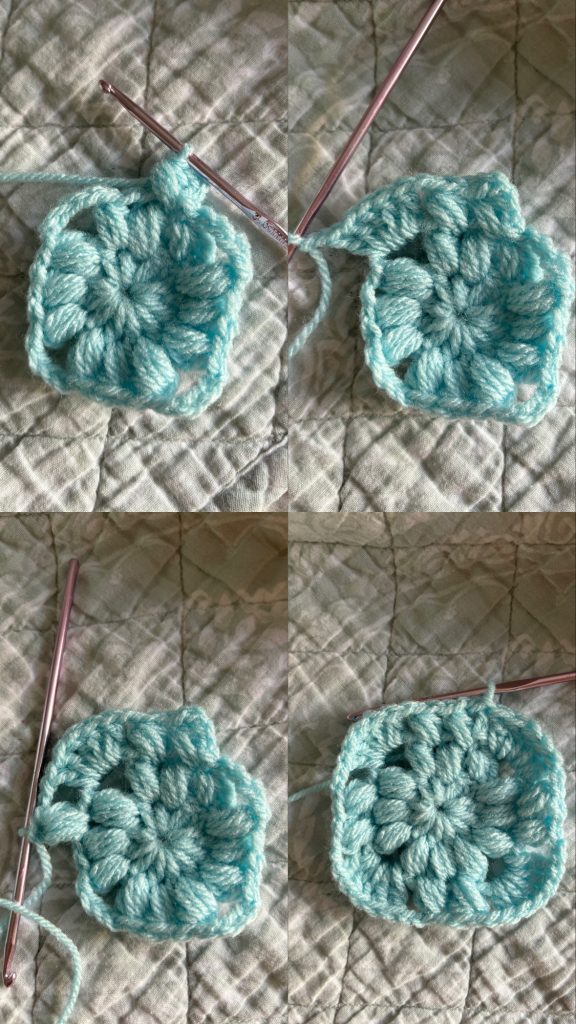
Row 2 – Adding Texture with Puff Stitches
- Chain 3: This acts as the first half-double crochet to the puff stitch
- Work 3 half-double crochets in the same space: The puff stitch
- Yarn through all of the loops : Finalise the Puff Stitch.
- Chain 1 : To create a space for the next Puff Stitch.
- Work 4 half-double crochets into the next space : Row repeat (2 more)Slip
- Chain 5 : To create the corner
- Repeat : 3 puff stitches + chain 5
- Slip Stitch into the top of the Puff Stitch: End of row 2
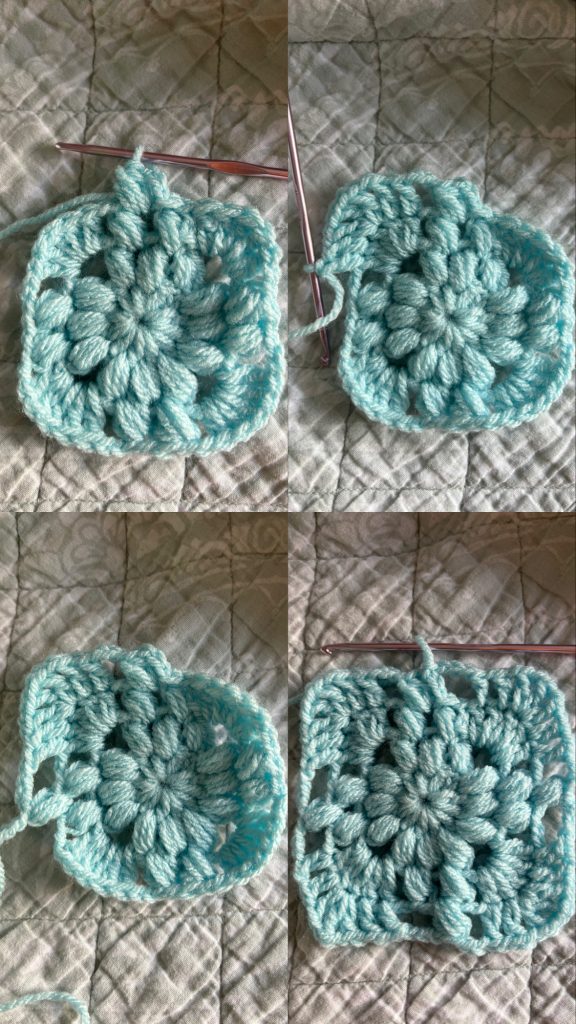
Row 3 – Form the Pattern
- Slip Stitch into the next space: To start row 3 in between the first and second puff stitch.
- Chain 3 and Puff Stitch in the same space : Begin the row repeat.
- Chain 1 and Puff Stitch in the next space.
- Chain 2 : To create a space for the corner
- 5 Double Crochet around the chain 5 stitch : The corner.
- Chain 2 and Puff Stitch in the next space: End of row repeat.
- Slip Stitch on the top of the first Puff Stitch: Finalise row 3
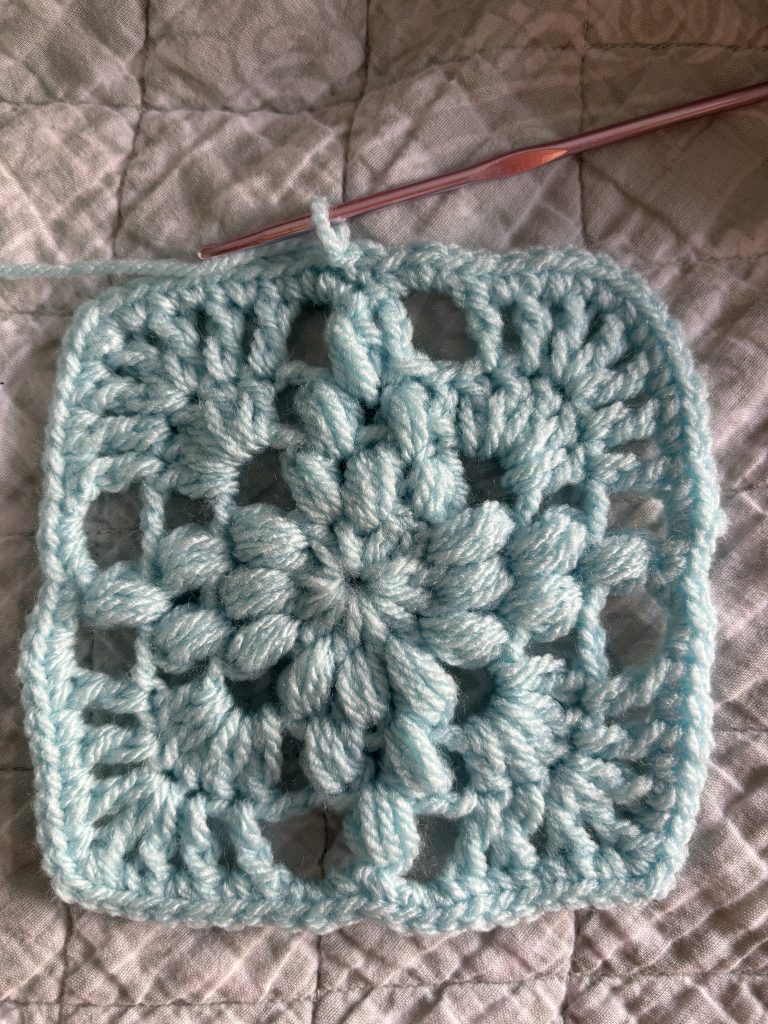
Row 4 – End of the Italian Pattern
- Slip Stitch into the next space: To start row 4 in that space.
- Chain 3 and Puff Stitch in the space space: You can now start to see the full pattern of this square.
- Chain 3: Start of row repeat
- Double crochet + Chain 1 on top of every double crochets: The corner.
- Chain 3 + Puff Stitch: End of row repeat.
- Slip Stitch on the top of the first Puff Stitch: Finalise row 4
Row 5 – Clean Up the Edges
- Single crochet to each stitch of the row: This will make this square nice and contoured.
- Cut the yarn.
The End – Blocking (optional)
I would recommend to block your granny square, in order to do that you need sewing pins and a hairdryer. Pin each corner against cardboard and put your hairdryer to the maximal heat.
Blow the air for at least 3-5 minutes and you’re all set !
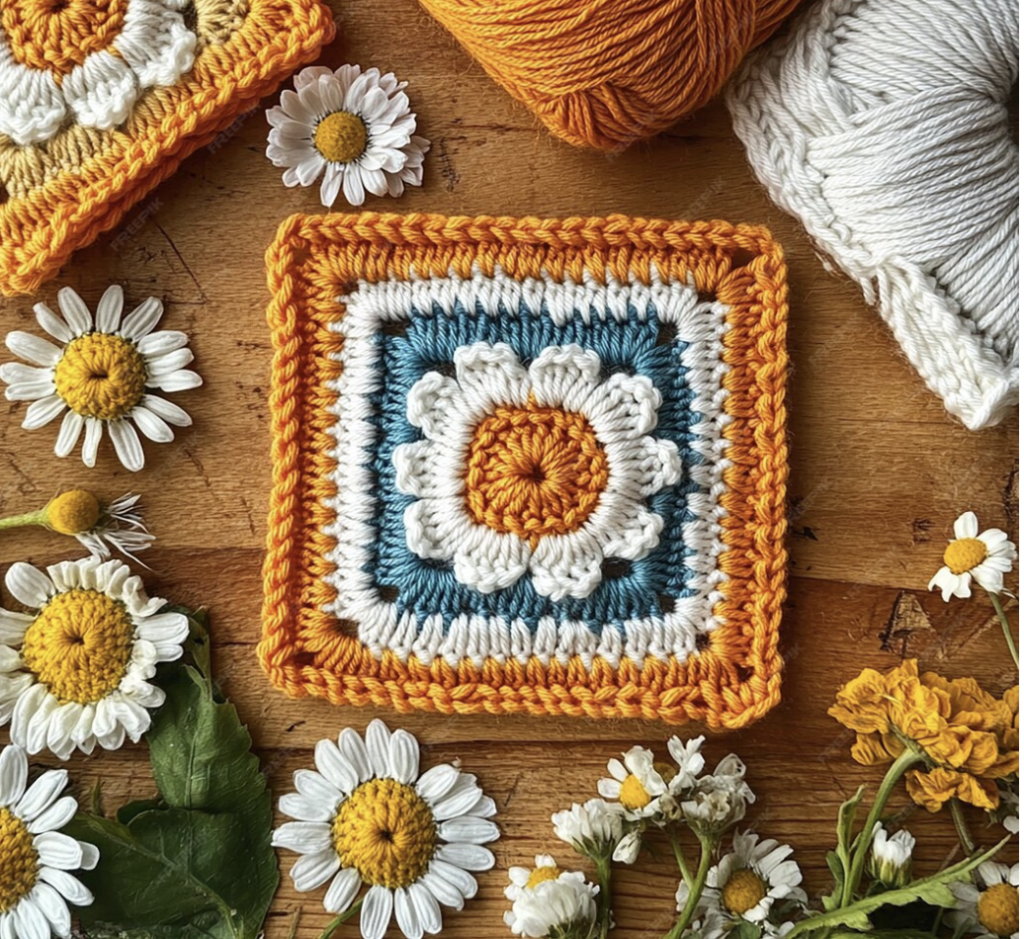
The Italian Granny Square is a sophisticated variation of the classic design that brings a touch of elegance to any crochet project. With its unique combination of puff stitches and double stitches, this pattern is perfect for those looking to elevate their crochet skills. Once you master this beautiful square, you’ll have a versatile and stunning piece to use in blankets, pillows, or even wearables!